Rate this post
Creating a Bitumen website with WordPress is a straightforward process. Here’s a step-by-step guide to help you set up your Bitumen website:
Step 1: Choose a Domain Name and Hosting Provider
- Choose a domain name that reflects your Bitumen business. Use a reliable hosting provider; popular options include Bluehost, SiteGround, or HostGator.
Step 2: Install WordPress
- Most hosting providers offer a one-click WordPress installation. Follow the instructions provided by your hosting service to install WordPress.
Step 3: Select a WordPress Theme
- Choose a theme that suits your Bitumen business. You can find suitable themes in the WordPress Theme Directory or through premium theme providers like ThemeForest.
Step 4: Customize Your bitumen Website
- Go to the WordPress dashboard and navigate to Appearance > Customize. Here, you can modify your site’s title, tagline, colors, and other settings.
Step 5: Create Essential Pages
- Create important pages such as Home, About Us, Products/Services, Contact Us, and Blog.
- For a Bitumen website, you may want to include pages detailing the types of bitumen you offer, quality standards, and any testing services you provide.
Step 6: Add Bitumen Products/Services
- Use the WordPress editor to create pages or posts showcasing your Bitumen products or services. Include relevant information, specifications, and images also add category of bitumen in different pages as below:
-
Viscosity Grade Bitumen:
- Categorized by viscosity at a standard temperature of 60°C.
- Common grades include VG-10, VG-30, and VG-40, with higher viscosity indicating higher resistance to deformation.
-
Performance Grade Bitumen (PG Binders):
- Designed to address the shortcomings of penetration grading, PG binders are classified based on performance characteristics at various temperatures.
- Identified by a combination of numbers and letters, such as PG 58E-28, indicating the stiffness and temperature resistance.
-
- Bitumen emulsified with water and an emulsifying agent for ease of handling and application.
- Categories include anionic, cationic, slow-setting, and rapid-setting emulsions.
-
- Bitumen mixed with a volatile solvent to reduce viscosity for easier application.
- Categories include slow-curing, medium-curing, and rapid-curing cutback bitumen.
-
Polymer Modified Bitumen (PMB):
- Bitumen modified with polymers to enhance properties such as elasticity, strength, and resistance to aging.
- Common polymers include SBS (Styrene Butadiene Styrene) and APP (Atactic Polypropylene).
-
- Bitumen subjected to air and heat to increase its hardness and improve its resistance to aging.
- Categories based on softening point and penetration include Slow-Curing (SC), Medium-Curing (MC), and Fast-Curing (FC).
-
- Occurs naturally and is often found in asphalt deposits.
- Categories include Gilsonite, a naturally occurring solid bitumen.
-
- Produced by air-blowing bitumen to alter its physical properties.
- Categories include hard and soft blown bitumen.
Step 7: Implement Contact Forms in the webiste
- Install a contact form plugin to allow users to easily get in touch with you. Popular choices include Contact Form 7 or WPForms.
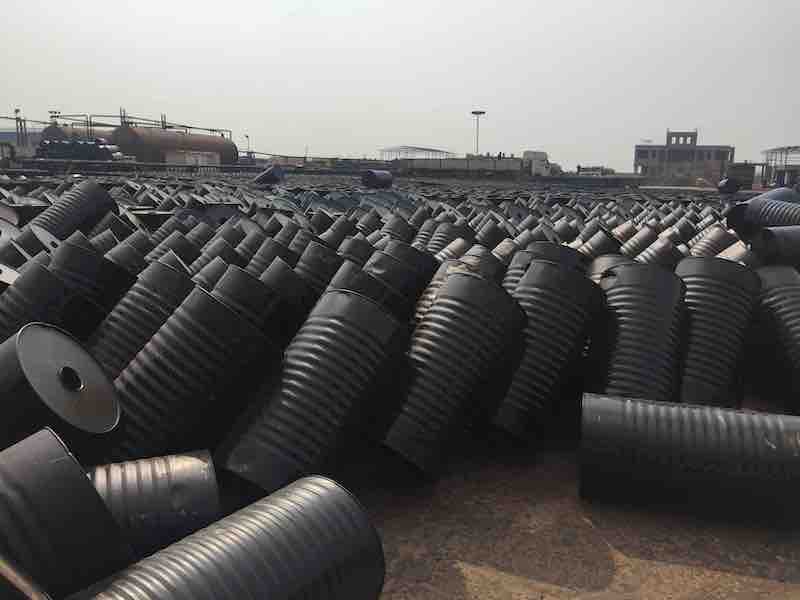
Step 8: Include High-Quality Images
- Visuals are essential. Add high-quality images of your Bitumen products, manufacturing processes, or completed projects to showcase your expertise.
Step 9: Optimize for SEO
- Use an SEO plugin like Yoast SEO to optimize your website for search engines. This involves optimizing meta titles, descriptions, and ensuring your content includes relevant keywords.
Step 10: Set Up Analytics
- Install Google Analytics to track your website’s performance and understand user behavior.
Step 11: Test and Launch
- Test your website thoroughly to ensure all functionalities work as expected. Once satisfied, officially launch your Bitumen website.
Step 12: Regular Updates and Maintenance
- Keep your website updated with the latest content and perform regular maintenance to ensure optimal performance and security.